DIY Food Photography Tips – Sporkies: Fairgoer Edition
Got an amazing idea for a Sporkies submission but not sure how to capture it in a photo?
Check out the DIY food photography tips below and examples of do’s and don’ts when taking pictures of your delicious creation.
5 Tips for Do-It-Yourself Food Photographs
Do’s & Don’ts of Food Photography Examples
See below for examples of the above food photography tips in action!
Example A: Deep-Fried Oreos DO’S
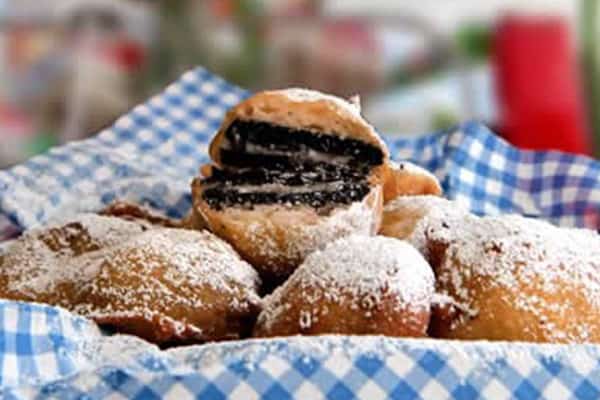
- DO Create soft, natural lighting
- DO Showcase ingredients by cutting open
- DO Choosing a side angle to highlight the height and serving size
- DO Allow the camera to focus on the food, background can remain tastefully out of focus
Example A: Deep-Fried Oreos DON’TS
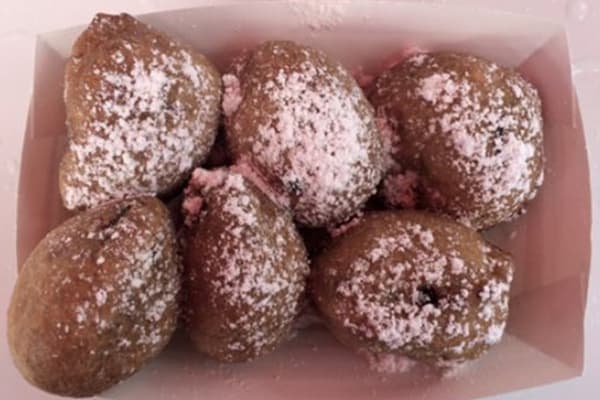
- DON’T Take a photo with poor lighting, shadows
- DON’T Leave viewers guessing as to what’s inside – especially with deep-fried items
- DON’T Allow an overhead shot to leave items looking flat
Example B: Poutine DO’S
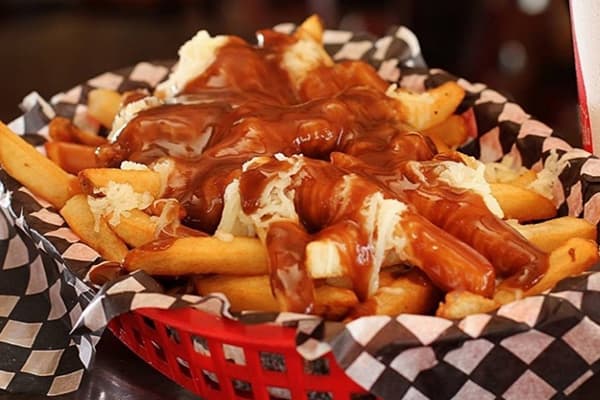
- DO Create soft, natural lighting
- DO Feature items in an attractive container – but remain true to the way it’s served
- DO Allow the camera to focus on the food, background can remain tastefully out of focus
Example B: Poutine DON’TS
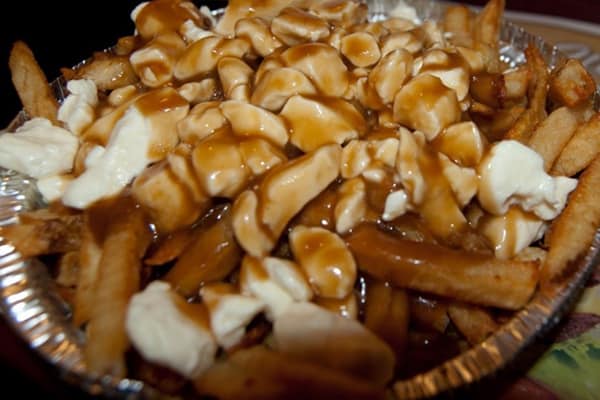
- DON’T Use your camera flash as it creates harsh lighting
- DON’T Allow the photo to become blurry or out of focus
- DON’T Feature an unattractive container or background
Example C: Caramel Apples DO’S
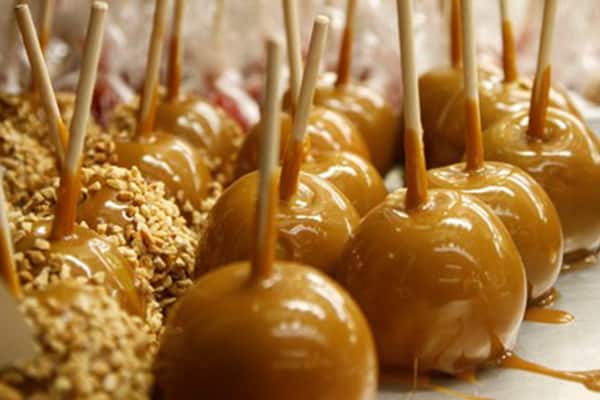
- DO Fill the entire frame with the food dish
- DO Create soft, natural lighting
- DO Use a simple, white background
- DO Take advantage of the food’s strengths – i.e. caramel shines as if freshly dipped
Example C: Caramel Apples DON’TS
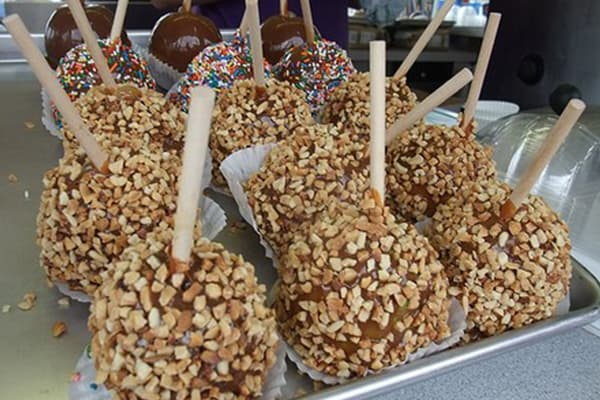
- DON’T Shoot with distracting or unattractive background elements – i.e. equipment, stray peanuts, tipped caramel apples
- DON’T Allow a busy frame to distract from focus on the food
